

How to Reseal Granite Countertops
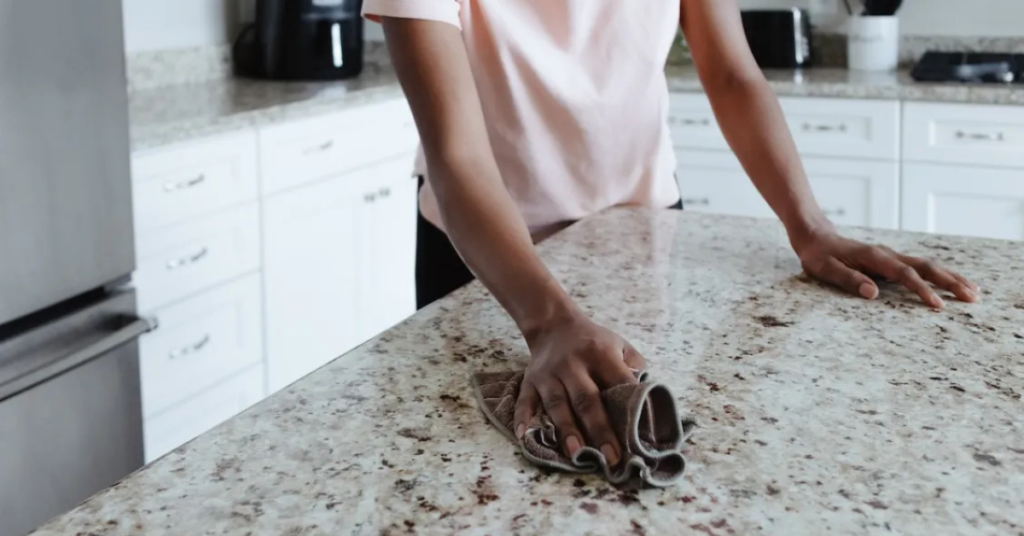
You noticed a dark spot on your granite after cooking last night. Or maybe you just realized it’s been a few years since you’ve thought about maintenance at all. Either way, you’re wondering: does my granite actually need to be resealed — and if so, how do I do it right?
Here’s the thing most articles skip: not all granite needs frequent resealing, and sealing at the wrong time (or with the wrong product) can cause more problems than skipping it. This guide walks you through the simple test that tells you whether resealing is actually necessary, how often to do it, and the exact steps to follow when the time comes.
Does Granite Actually Need to Be Sealed?
Yes — but not all granite, and not on a fixed schedule.
Granite is a natural stone with microscopic pores that can absorb liquids, oils, and stains over time. A penetrating sealer fills those pores and creates a barrier that buys you time to wipe up spills before they soak in. Without it, red wine, olive oil, and acidic liquids can leave permanent marks.
That said, porosity varies significantly from slab to slab. Light-colored granites — creamy whites, warm beiges, pale grays — tend to be more porous and absorb liquids quickly. Dark granites like Absolute Black or Blue Pearl are often so dense that water barely penetrates at all. Some of them don’t need sealing more than once, if ever.
This is why a calendar-based resealing schedule doesn’t make much sense. The only reliable way to know if your granite needs sealing is to test it — which brings us to the most useful thing in this article.
How Do You Know If Granite Needs to Be Resealed?
Do the water bead test — it takes 2 minutes and gives you a definitive answer.
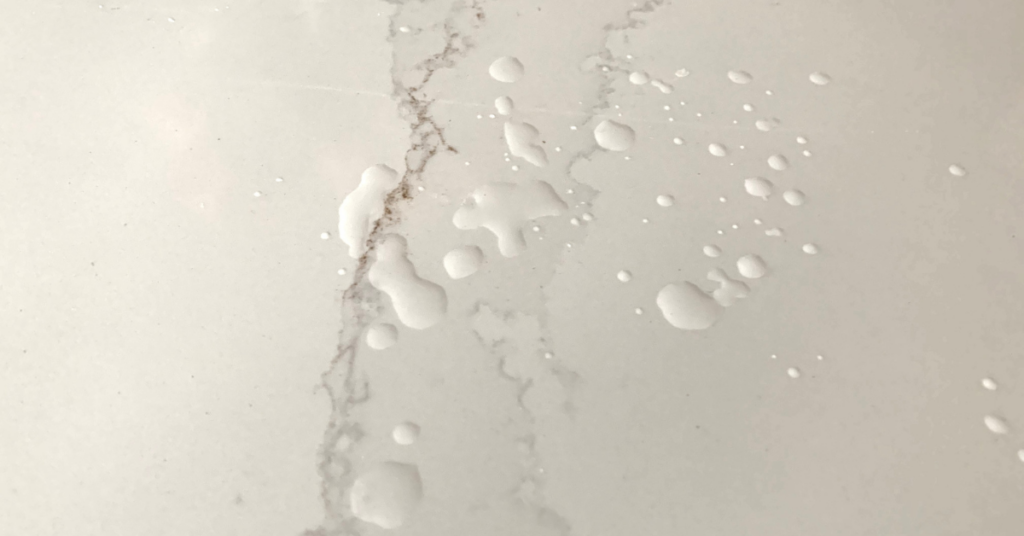
Pour about a tablespoon of water onto your granite countertop and wait 10 to 15 minutes without wiping it up. When you come back, one of two things will have happened: the water is still sitting on top in a rounded bead, or it has soaked into the stone and left a darker wet spot. If the water beads, your seal is still doing its job. If it absorbed, it’s time to reseal.
A few things to keep in mind when you run this test: test near the sink and stove separately from lower-traffic areas like the far end of an island. Sealer wears unevenly, and a spot that still beads in one area may have failed in another. If you cook heavily or clean daily with harsh products, the areas near heat and cleaning products will almost always wear through first.
You can also do a secondary test with a small drop of cooking oil in an inconspicuous spot. Oil is heavier than water and will reveal absorption issues that the water test might miss in denser stone. If either the water or oil test shows absorption, reseal.
How Often Should You Reseal Granite Countertops?
Most kitchen granite needs resealing every 1 to 5 years, depending on the stone’s density and how heavily it’s used.
There’s no single right answer, but here’s a practical guide by granite type. Light, porous granite — the kind that absorbs the water test quickly — typically needs resealing every 1 to 2 years in an active kitchen. Medium-density granite (most mid-range stones fall here) usually holds up for 3 to 5 years. Very dense, dark granite may only need sealing once and then never again, or on a 5-plus year cycle.
Your lifestyle matters just as much as the stone. A kitchen countertop that sees daily cooking, frequent cleaning, and regular exposure to acidic foods will wear through sealer faster than a bathroom vanity that mostly holds soap. High-heat areas near the stove and high-moisture areas near the sink will always wear out sooner than the rest of the surface.
The most reliable approach: do the water bead test once a year, typically in spring when you might be doing general home maintenance. Let the stone tell you when it’s ready rather than following a fixed schedule.
What Do You Need to Reseal Granite Countertops?
You need a penetrating (impregnating) granite sealer, a pH-neutral cleaner, and two clean microfiber cloths. The whole process takes about an hour of active work plus drying time.
Not all sealers are the same. You want a penetrating sealer — also called an impregnating sealer — specifically formulated for natural stone or granite. These products absorb into the stone’s pores and create a barrier from within. Avoid topical or surface sealers, which sit on top of the stone rather than penetrating it. They can discolor, cloud, or peel over time and are much harder to remove if something goes wrong.
Good penetrating granite sealers are widely available at hardware stores and home improvement centers. Look for labels that say “impregnating,” “penetrating,” or “for natural stone.” Popular options include Granite Gold, StoneTech BulletProof, and Tenax Ager — though any quality penetrating sealer will do the job if applied correctly.
How Do You Reseal Granite Countertops Step by Step?
Clean the surface, apply the sealer in small sections, let it absorb, wipe off the excess, and keep the surface dry for 24 hours.
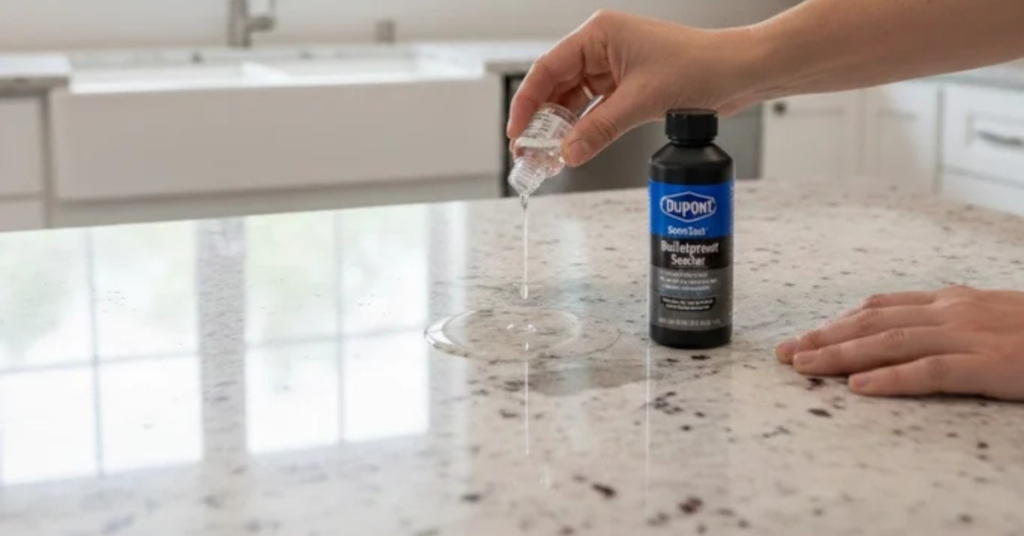
Here is the full process:
Step 1 — Clear and clean the surface. Remove everything from the countertop and clean it thoroughly with a pH-neutral granite cleaner or dish soap diluted in water. Avoid bleach, vinegar, or anything acidic — these can etch the stone. Once clean, let the surface dry completely before moving on. Ideally, wait several hours or overnight. Sealer applied to a damp surface won’t bond properly and can leave a haze.
Step 2 — Apply the sealer in sections. Working in small areas — roughly 2 to 3 square feet at a time — pour or spray the sealer directly onto the stone. Don’t flood the surface. A thin, even coat is what you’re after. Let the sealer sit and absorb for however long the product label specifies, usually 3 to 5 minutes. Don’t let it dry on the surface during this step.
Step 3 — Wipe off the excess before it hazes. This is the most important step to get right. Before the sealer starts to dry and cloud, buff off the excess with a clean, dry microfiber cloth. Work in circular motions and turn the cloth as it becomes saturated. If the sealer hazes or dries on the surface, it’s difficult to remove and will leave a dull, streaky finish.
Step 4 — Apply a second coat if needed. For more porous granite, a second coat significantly improves protection. Wait 20 to 30 minutes after the first coat, then apply and buff again following the same process. If you’re sealing a light-colored or highly porous slab, two coats are almost always worth the extra 30 minutes.
Step 5 — Let it cure. Keep the countertop completely dry for at least 24 hours after sealing. No water, no cooking, no cleaning during this window. The sealer needs time to fully cure and bond within the pores of the stone.
Step 6 — Test it. Once the cure time has passed, run the water bead test again in the areas you sealed. If the water beads cleanly, the job is done. If it still absorbs, apply another coat.
What Should You Avoid When Resealing Granite?
Avoid sealing a wet surface, using the wrong product type, and letting the sealer dry on the stone — these are the three mistakes that cause the most problems.
Don’t seal a damp surface. Even if the granite looks dry, residual moisture from cleaning or humidity can prevent the sealer from penetrating. When in doubt, wait longer.
Don’t use the wrong product. Tile sealers, grout sealers, and general-purpose stone sealers are not interchangeable with granite penetrating sealers. Using the wrong product can deposit a residue on the surface that’s difficult to remove and doesn’t actually protect the stone.
Don’t let the sealer dry on the surface. If it hazes over before you wipe it, you’ll need a sealer stripper or professional buffing to remove it. Always work in small sections and stay ahead of the drying time.
Don’t confuse sealing with polishing. Resealing protects the stone from absorption — it won’t restore shine to granite that has gone dull. If your granite looks flat or hazy even after cleaning, that’s a polishing issue, not a sealing issue. A stone professional can hone and re-polish the surface if needed.
Don’t skip the post-seal water test. It’s the only way to confirm the sealer actually worked. The test takes two minutes and removes all guesswork.
Thinking About New Granite Countertops?
If you’ve been maintaining granite for years, you clearly understand how to protect a stone investment. When it’s time to upgrade or replace, or if you’re starting a new kitchen or bathroom project, Masters Countertops carries a wide selection of slabs at our showroom in Wheeling, IL.
You can browse granite options online and use our Instant Quote tool to get a price estimate sent straight to your inbox. Or stop by the showroom to see full slabs in person — because as anyone who has resealed granite knows, the real thing always looks different from a photo.
Masters Countertops 363 Alice Street, Wheeling, IL 60090 Monday–Friday 9am–5pm | Saturday 9am–3pm masterscountertops.com
Like what you see? Follow us for more design inspiration, expert tips, and the latest trends in natural stone and quartz countertops. Don’t forget to share!